Getting Started with Watershed Drybags Photography Kits
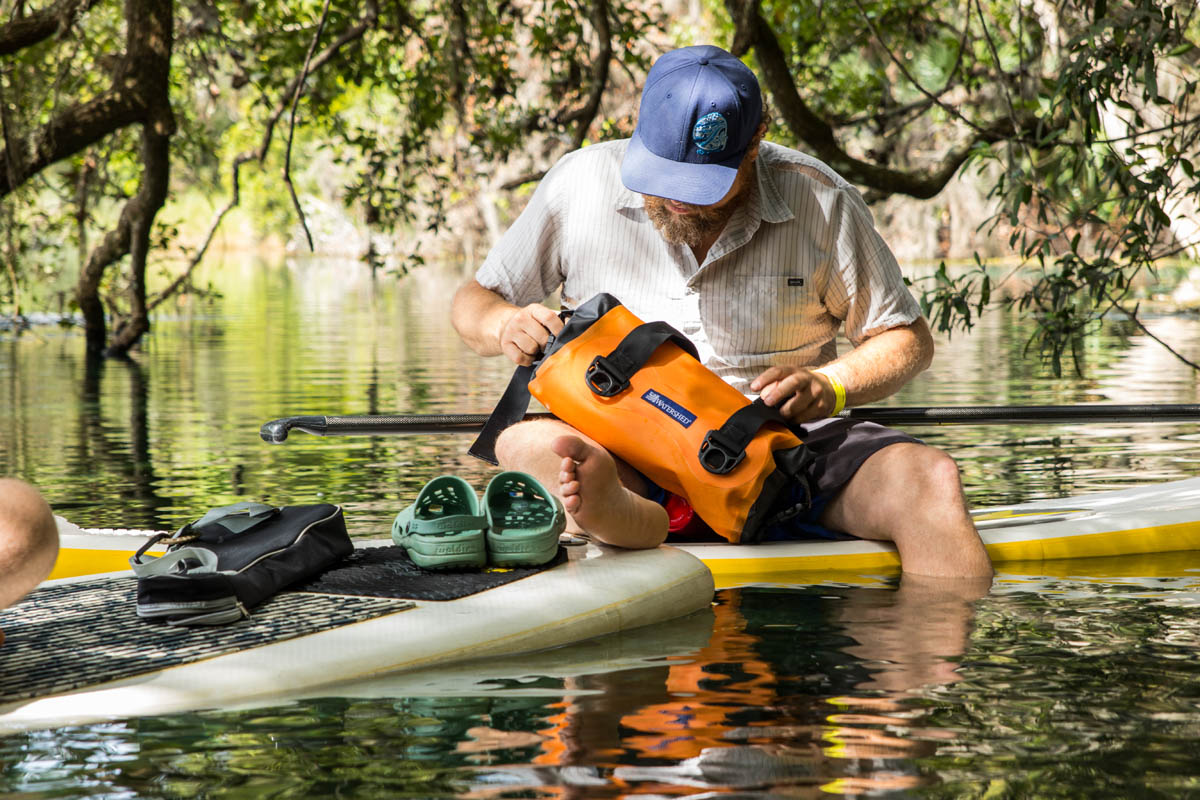
We stand by the statement that our Drybags are some of the most rugged and trusty on the market, and have good reason to. They’re capable of keeping your most precious belongings safe and dry for up to 300ft below the surface. Many of our customers and community can attest to that, especially the folks carrying thousands of dollars worth of equipment – like our beloved photographers.
If you’re capturing the beauty of the great outdoors in the thick of it, you’re carrying some serious arsenal and putting yourself through the ringer with your gear at your side. That means you’re taking extra precautions to ensure that under the worst circumstances, your kit comes out without a scratch.
View this post on Instagram
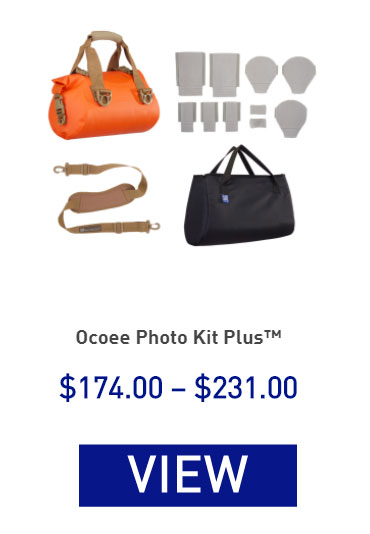
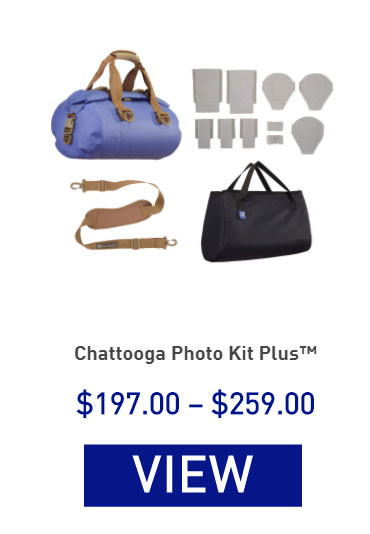
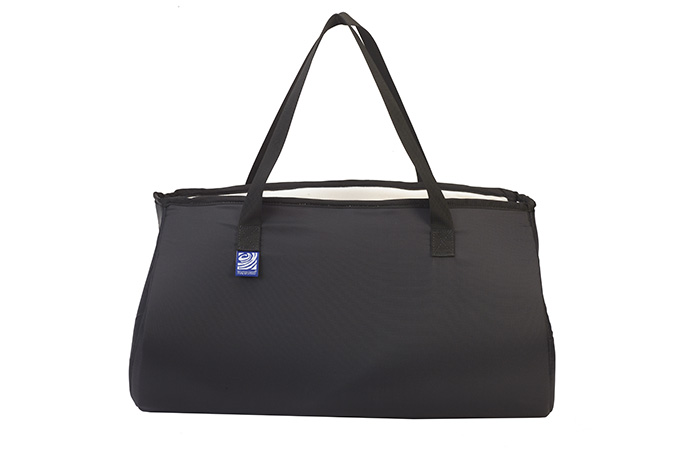
Our Photo Kits
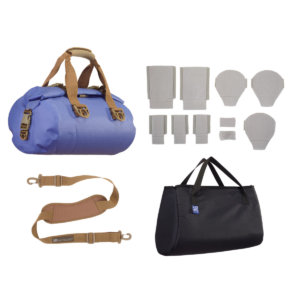
That’s where our Chattooga Photo Kit Plus and Ocoee Photo Kit Plus come in – they include a full Watershed Drybags Duffel with a set of padded dividers, a full sized padded duffel liner, and a shoulder strap. Keeping your most serious hardware padded and protected, these kits are a must-have for every photographer embarking into the wild and beyond.
“Stuff stays put if you pack it right. I was in some pretty big water today, even surfed a hole with the raft. We even also had 2 hammocks in the Chattooga plus my camera gear and my drone.” – Robert Faubert, Professional Photographer & Team Watershed Ambassador
How Do They Work?
1) First thing you’ll want to do is set your padded liner upright and unzip the mouth, then get it inside your Drybag. Feel around inside a bit so that the walls of the padded liner are pressed snug against the inside of the drybag.
2) Next, start organizing the padded dividers in a way that matches how you’ll be storing your gear. A crucial thing to keep in mind is that the padded liner is not waterproof! It’s rather a framework for how you’ll format the dividers, but more importantly a cushion protecting your camera gear from any roughhousing.
“I use the Chattooga with the divider kit and I have no issues as you can place the dividers as close or as far apart as needed to ensure a snug fit for camera gear. Plus, once the bag is zipped, purged of excess air, rolled and buckled, it’s good to go.” – Bryan Mangum, Professional Photographer & Team Watershed Ambassador
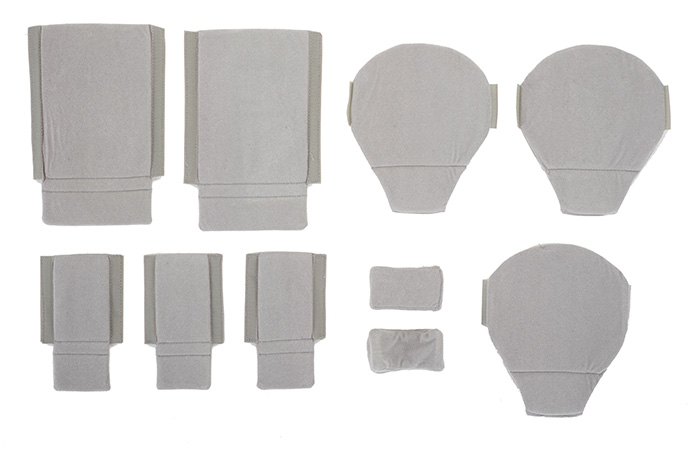
3) The padded divider set comes with 11 different customizable pieces that fit lenses, accessories, and other types of bulky hardware. Made with padded closed cell foam and fleece, they’re also lined with thin strips of velcro that stick to the interior of the bag. This means you can place them in whatever fashion best suits your equipment needs, and any extra dividers can be used to double down on some extra cushioning wherever needed.
We also make padded liners and dividers that are compatible with our Ocoee, Yukon and Colorado duffels.
“I use the Chattooga with the divider kit and I have no issues as you can place the dividers as close or as far apart as needed to ensure a snug fit for camera gear. Plus, once the bag is zipped, purged of excess air, rolled and buckled, it’s good to go.” – Ellen Wright, Team Watershed Ambassador
With these tips, you’ll be set for the shoot of a lifetime, wherever the current takes you. Here’s to all you dedicated photogs who do whatever it takes for the perfect shot!
If you’re still struggling with the Photo Kit, check out one of our helpful walkthrough videos: https://www.youtube.com/watch?v=FgO6tsRRNqI